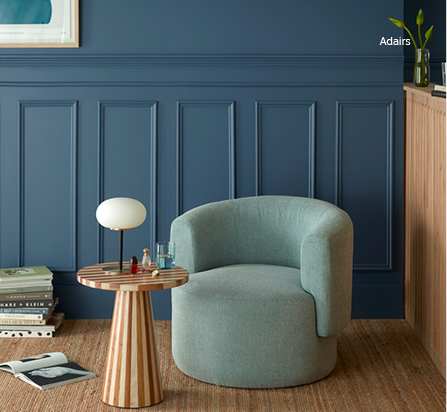
Colour drenching, the practice of bathing every surface in a single uniform colour is gaining a whole lot of momentum at the moment. This bold yet surprisingly simple technique has the power to elevate any room, making it feel more spacious, serene, and right on trend. But don’t be fooled, colour drenching is not just about slapping on a coat of paint; it’s an art form that requires careful consideration. By eliminating visual noise and creating a sense of continuity, this technique can make even the smallest spaces feel airy and expansive.
The colour drench design approach has its roots in the Impressionist era when artists like Claude Monet experimented with bold, unifying colours. Fast-forward to today, and it’s experiencing a renaissance of sorts. Designers and homeowners alike are embracing it, and the results are ten out of ten.
So, why should you consider colour drenching for your next design project? For starters, it creates the illusion of space by erasing visual boundaries, colour drenching makes rooms feel larger and more open. It also hides imperfections – that unsightly air conditioning vent or uneven surface? Making them all but disappear.
Ready to give this technique a try? Here’s how to make it work.
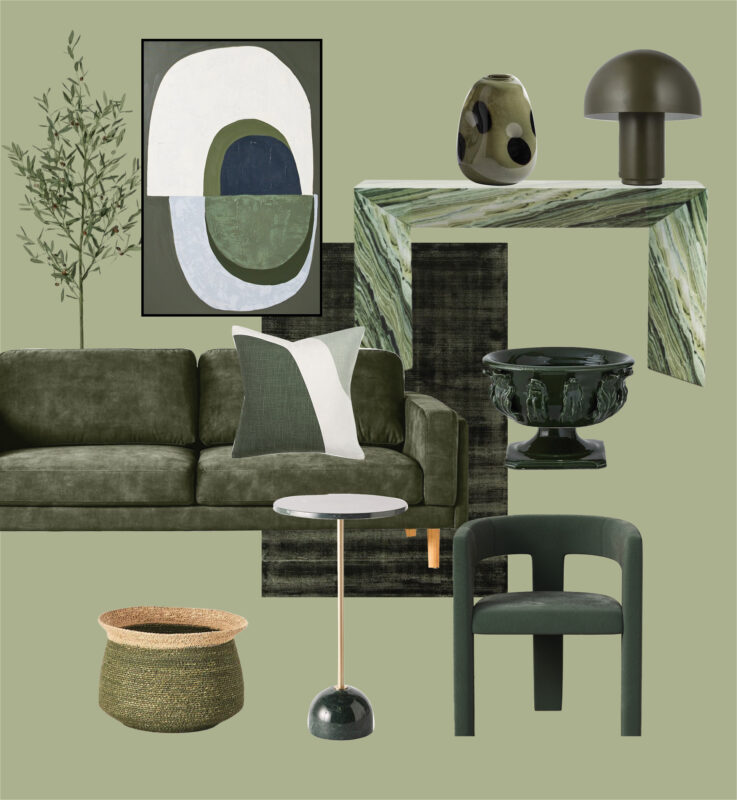
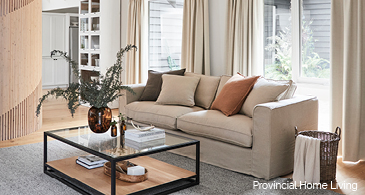
Adairs Nouveau Rug $549.99, Casa Blanco Roma Console $4,400, Casa Blanco Triah Chair $780, DecoRug Crescent Framed Canvas Wall art $84.96, Domayne Spots Olive Large Vase $109, Early Settler Finch 3 Seater Sofa $1,699, Early Settler Vaani Round Side Table $249, Freedom Cosh Table Lamp $69.95, James Lane Olive Tree $349.95, OZ Design Bella Feather Fill Cushion $89.95, Provincial Home Living Lucerne Compote $169.95, Provincial Home Living Talia Basket $69.95.
Step 1: Choose your canvas
First up, you’ll need to consider where you’d like to apply this trend. Although you can incorporate it in any space, colour drenching works best in bathrooms, hallways, and stairways – anywhere you want to create a sense of flow. You’ll notice that many luxe hotels and hospitality hot spots often opt for a single-hued bathroom featuring monochromatic terracotta colour tiles or sage green.
Step 2: Select your shade
Be sure to consider the room’s purpose and the furniture you’ll be using before selecting your colour. Rich, bold colours can add depth and luxury, while softer hues create a sense of calm. If your goal is to make the space appear larger then steer clear from dark hues. It’s wise to think about the furnishing to be used in the room also. If you have a stunning navy armchair, this same hue or something a touch darker or lighter would be ideal for the paintable surfaces.
Step 3: Paint with purpose
Don’t be shy when it comes to painting – coat every surface, from ceiling to skirting boards. This step is a non-negotiable when it comes to colour drenching every surface must be painted with the same colour to create a seamless look.
Step 4: Add subtle pops of personality
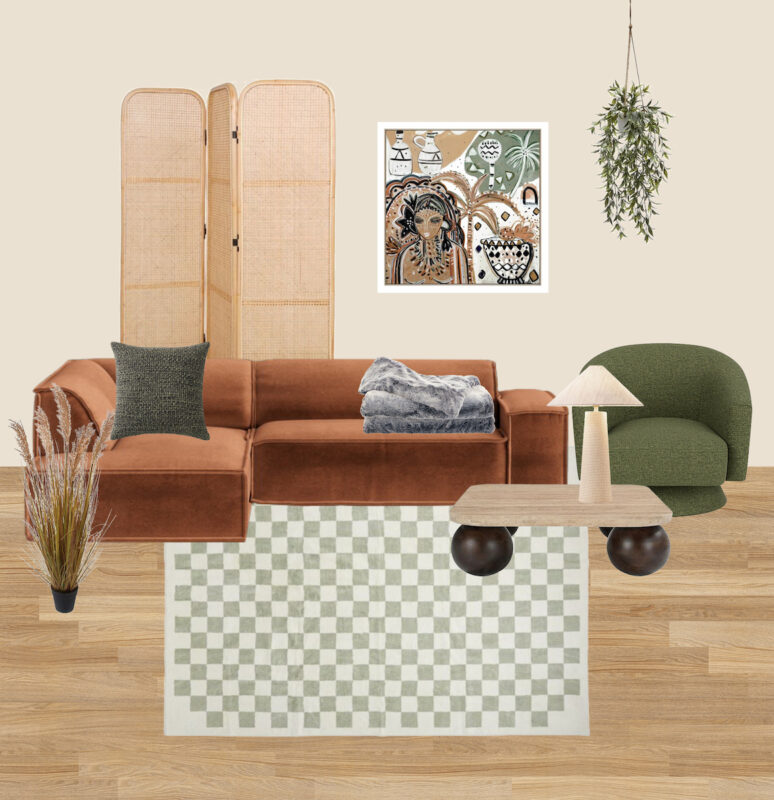
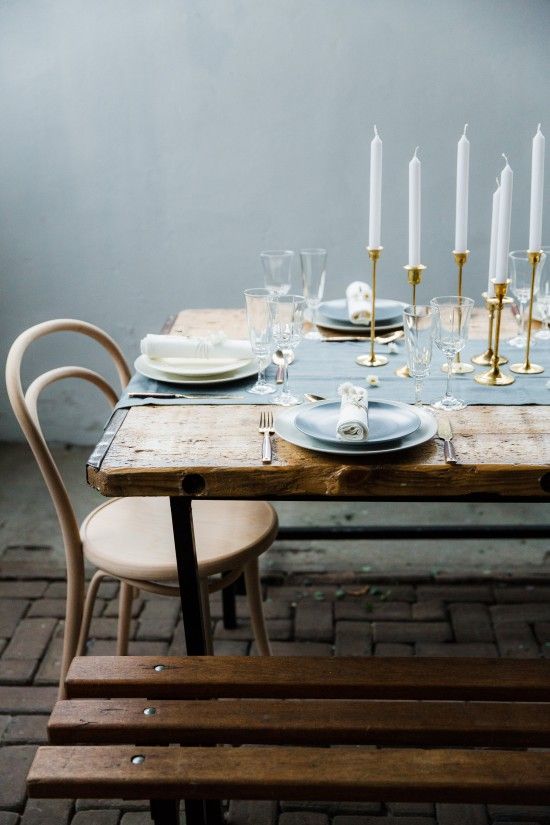
When it comes to colour drenching, your décor plays a vital role in enhancing the overall effect. To add depth and visual interest, incorporate smaller pieces that break up the space while complementing the dominant colour. For instance, if you’ve chosen pink as your primary colour, select an artwork that features pink prominently but also includes a splash of orange. You can then subtly introduce more orange through flowers or a vase, creating a cohesive and harmonious look. By thoughtfully incorporating artwork, flowers, or vases, you can add layers of visual interest and break up the space, preventing the colour from feeling overwhelming. Once you’ve finalised your furnishings and décor options, your colour drench space is complete.
Ready to try colour drenching for yourself?
There you have it, colour drenching is more than just a fleeting design trend – it’s a game-changer that can elevate any space. By embracing a single hue, you can create a harmonious, visually appealing space that leaves a lasting impression on all who enter. So why not try it out for yourself? Introduce this innovative technique to your home and discover chromatic bliss!
For more home inspiration, join the Homemaker Collective to stay in the loop.
